I came across a
Flappy Bird website a while ago. It seemed
to be a
good DIY project to make for families and
friends.
A simple game, but fun
especially for little kids.
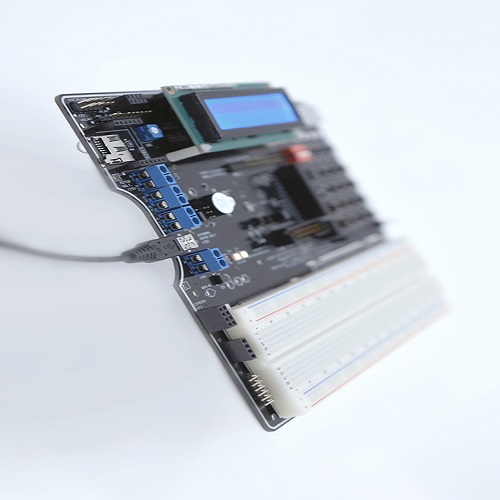
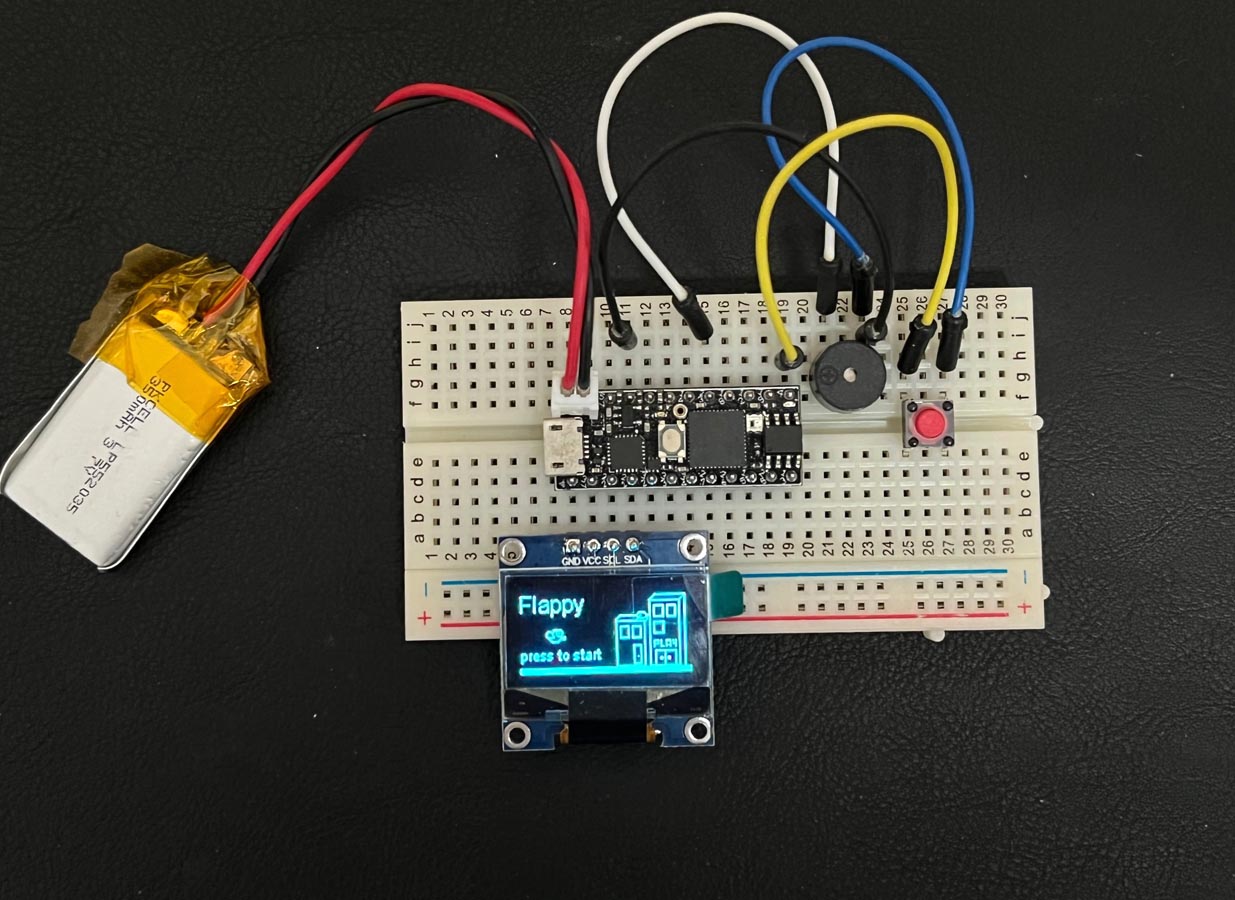
I prototyped it with our
SmallPICO board, it worked, but
the final package was too thick using
the SmallPICO.
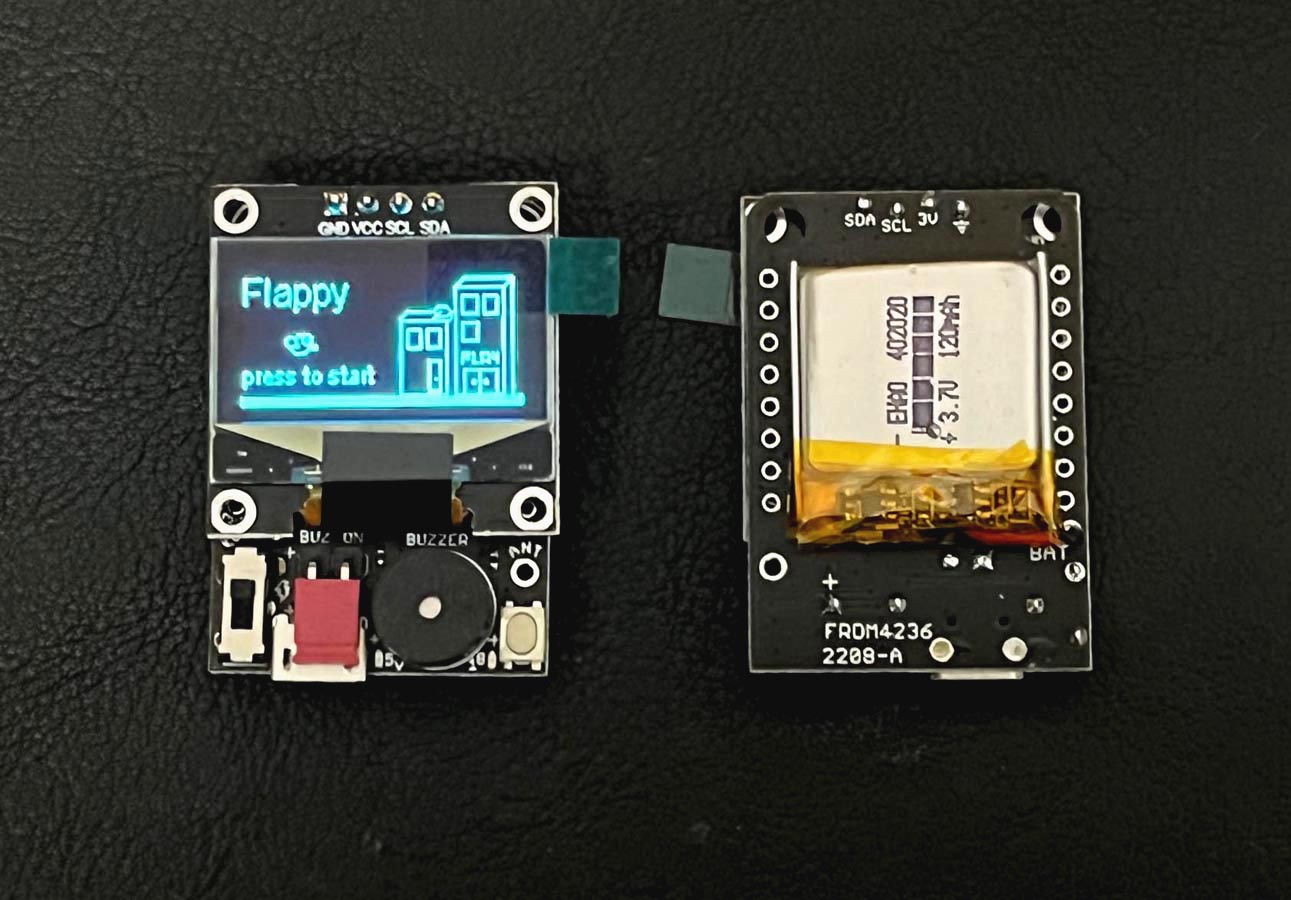
So I customized
a board to reduce the size. The new size is 1.47" x 1.1"
x 0.5".
It's one of the smallest video
game consoles based on the ESP32. Small
enough to be put into my wallet.
Since then, I found
another Flappy Bird at
instructable.com, the code are the same. If
one site is down you can get the code on
the other one.
I don't know which one is the original creator.
Flappy Bird operation notes
-
1. The reset button is under the display. You
can press the display to reset the board in case the
display is not working.
A little kid could accidentally push it during playing, so it
would end the game playing prematurely.
-
-
2. The battery is rated at 200mA, it can last
more than 2 hours of game playing time before it
needs to be re-charged through the
USB connector next to the buzzer. When you plug in or pull
out the USB cable, don't pry it up. Keep it
horizontally as much as possible.
If the USB connector comes off it may rip off some traces on
the Printed Circuit Board and it will be very hard
to repair it.
-
-
3. The red shunt plug is the on/off switch for
the buzzer. You can remove the red shunt plug, so
it won't disturb other people nearby.
In order to prevent losing it, it can be plugged into one pin
instead of 2 pins. Or you can use your left thumb to
quiet the buzzer
while
using your right thumb to play.
-
-
4. The SPDT slide switch near the left corner is
the power switch for the battery.
When it's slid up the battery is turned on. In order to
charge the battery, the battery must be turned on.
When you stop to play, you can slide it down to turn off the
battery.
-
-
5. The red LED between the USB connector and the
buzzer is the USB power indicator.
Whenever a USB cable
is
plugged in, this red LED will be lit. When the side
switch is slid up, a green LED will be on.
It's the charging status LED.
When the battery is fully charged, the green LED
will go off.
|