|
|
|
New NanoboyR4 Minima |
||||||
 |
|
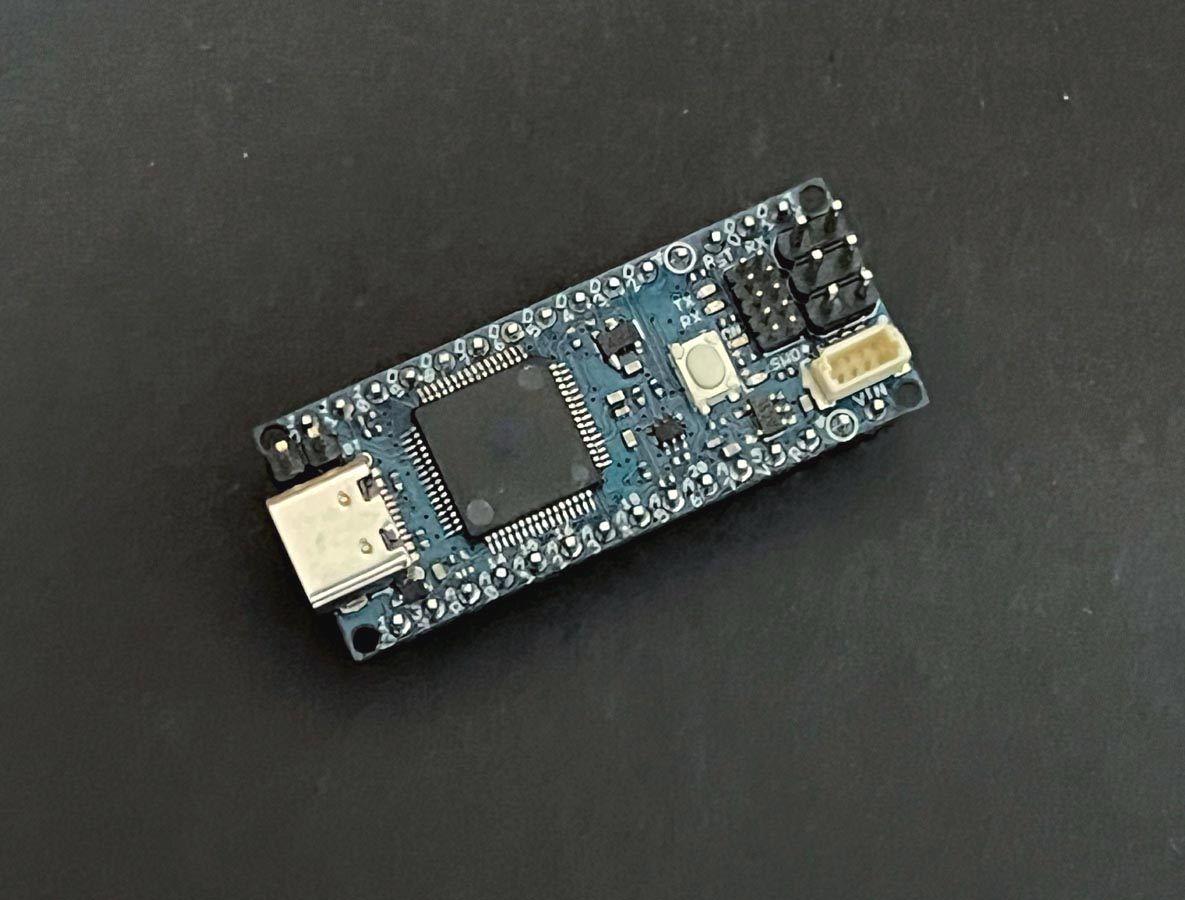
1. Hardware compatibility with NANO form factor: The NanoboyR4 Minima maintains the same form factor, pinout, and 5 V operating voltage. It's a drop-in replacement of its predecessor, the Arduino NANO. This ensures a seamless transition for existing projects, leveraging the extensive and unique ecosystem already established for the Arduino NANO. 2. Expanded memory and faster clock: Prepare for more precise calculations and the ability to handle complex projects with ease. The Nanoboy-R4 Minima boasts increased memory and a faster clock speed, empowering you to tackle demanding tasks effortlessly. 3. Extra on-board peripherals: The Nanoboy-R4 Minima introduces a range of on-board peripherals, including a 12-bit DAC, CAN BUS, OP AMP and QWIIC interface for external 3.3V sensors. These additional components provide you with expanded capabilities and flexibility in your designs. 4. SWD connector: Debugging is a critical aspect of any project. Simply connect an external debugger to the Nanoboy-R4 Minima and effortlessly monitor the inner workings of your system. Stay in control and gain valuable insights. 5. HID support: The Nanoboy-R4 Minima comes with built-in HID (Human Interface Device) support, enabling it to simulate a mouse or keyboard when connected to a computer via a USB cable. This convenient feature makes it a breeze to send keystrokes and mouse movements to a computer, enhancing usability and functionality. 6. Size: 1.7" X 0.7" or 43.18mm X 17.78mm. Get ready to unlock a world of possibilities with the Nanoboy-R4 Minima. Its exceptional features and enhanced capabilities make it the perfect companion for your innovative ventures. The NanoboyR4 is not shown on the Arduino UNO R4 board list, you can use it as an Arduino UNO R4 Minima board. It can do whatever an Arduino UNO R4 Minima can do.
The
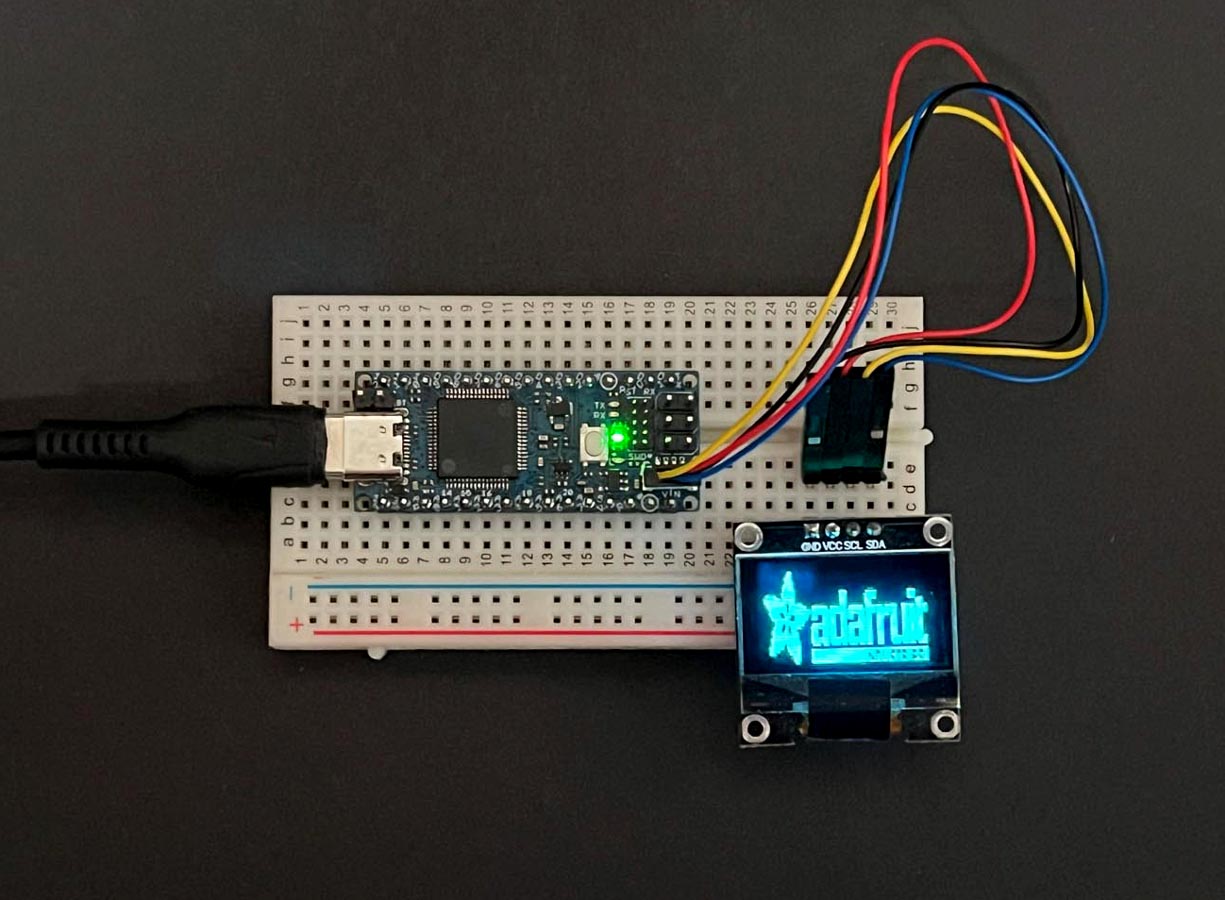
NanoboyR4 board is pre-loaded with a test sketch and it
will blink all output pins including the user LED at
GPIO13. NanoboyR4 assembly Instructions are similar to the SmallPICO assembly instructions.
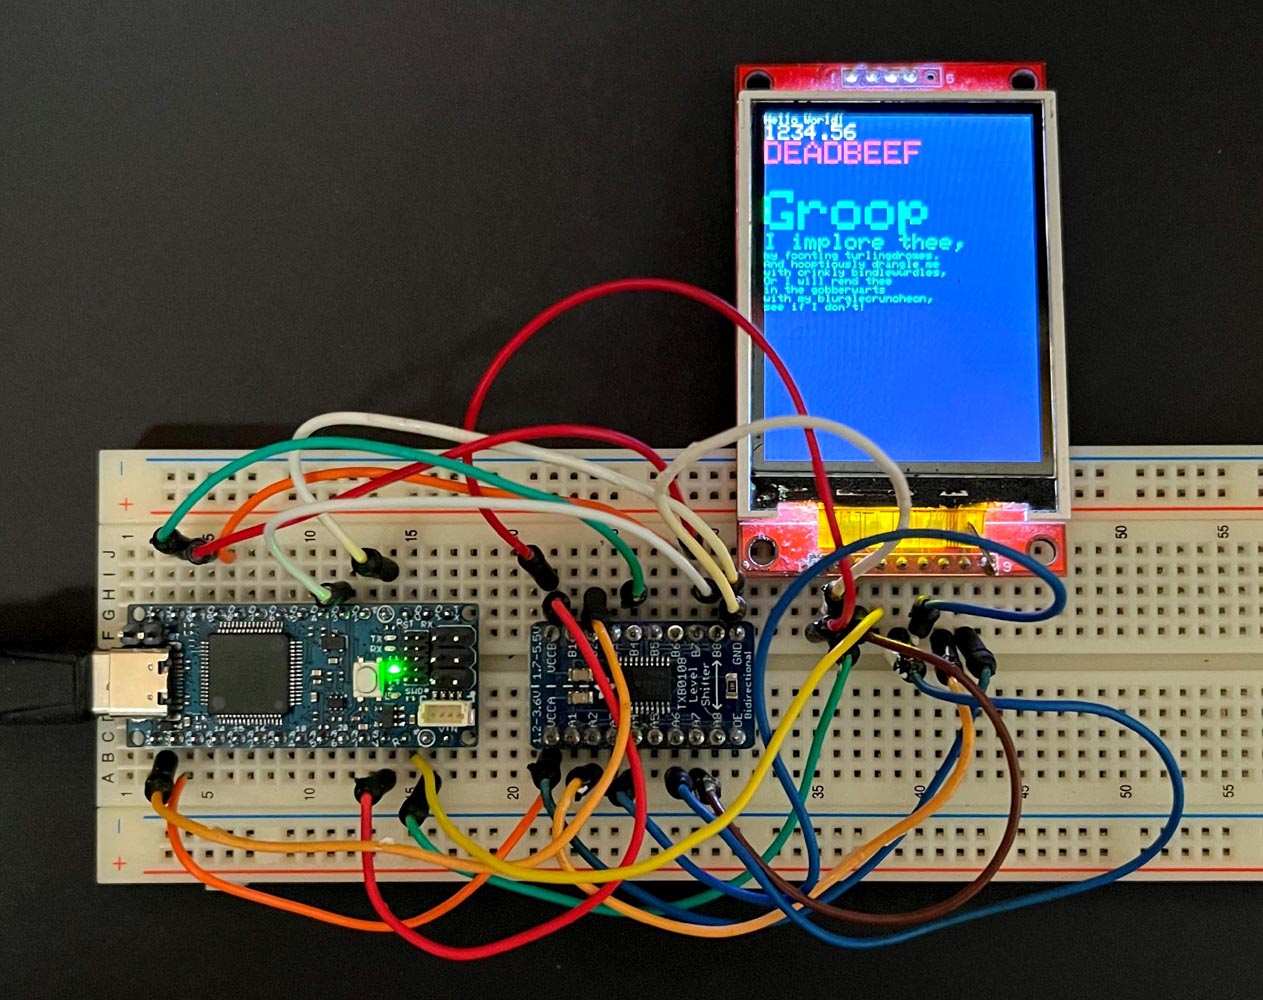
Download the following Example Programs in a zip file All example programs are tested with Arduino IDE 2.2.1 and Espressif 3.0.0a
|