|
New SmallS3
|
 |
 |
|||||
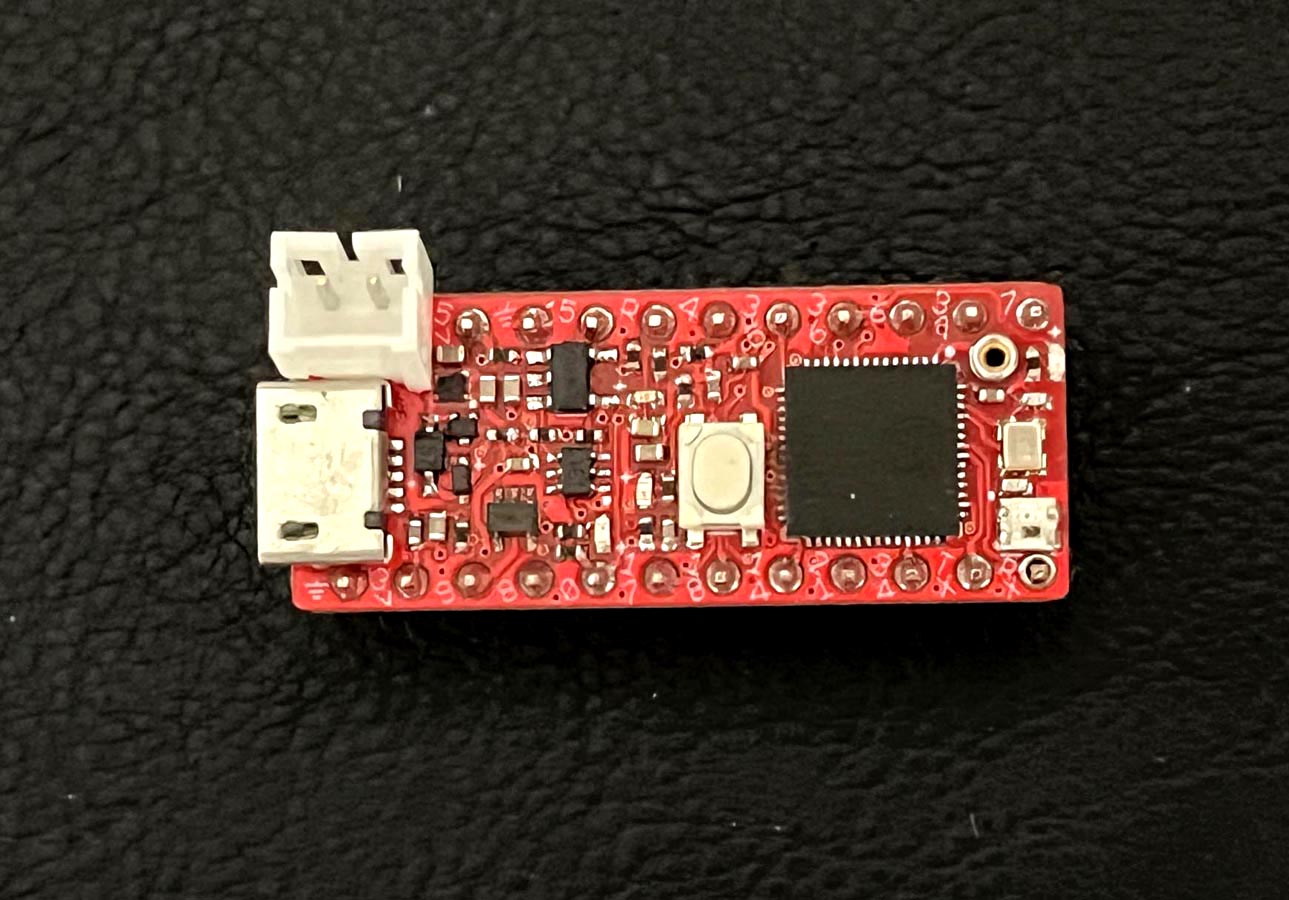
| Top side |
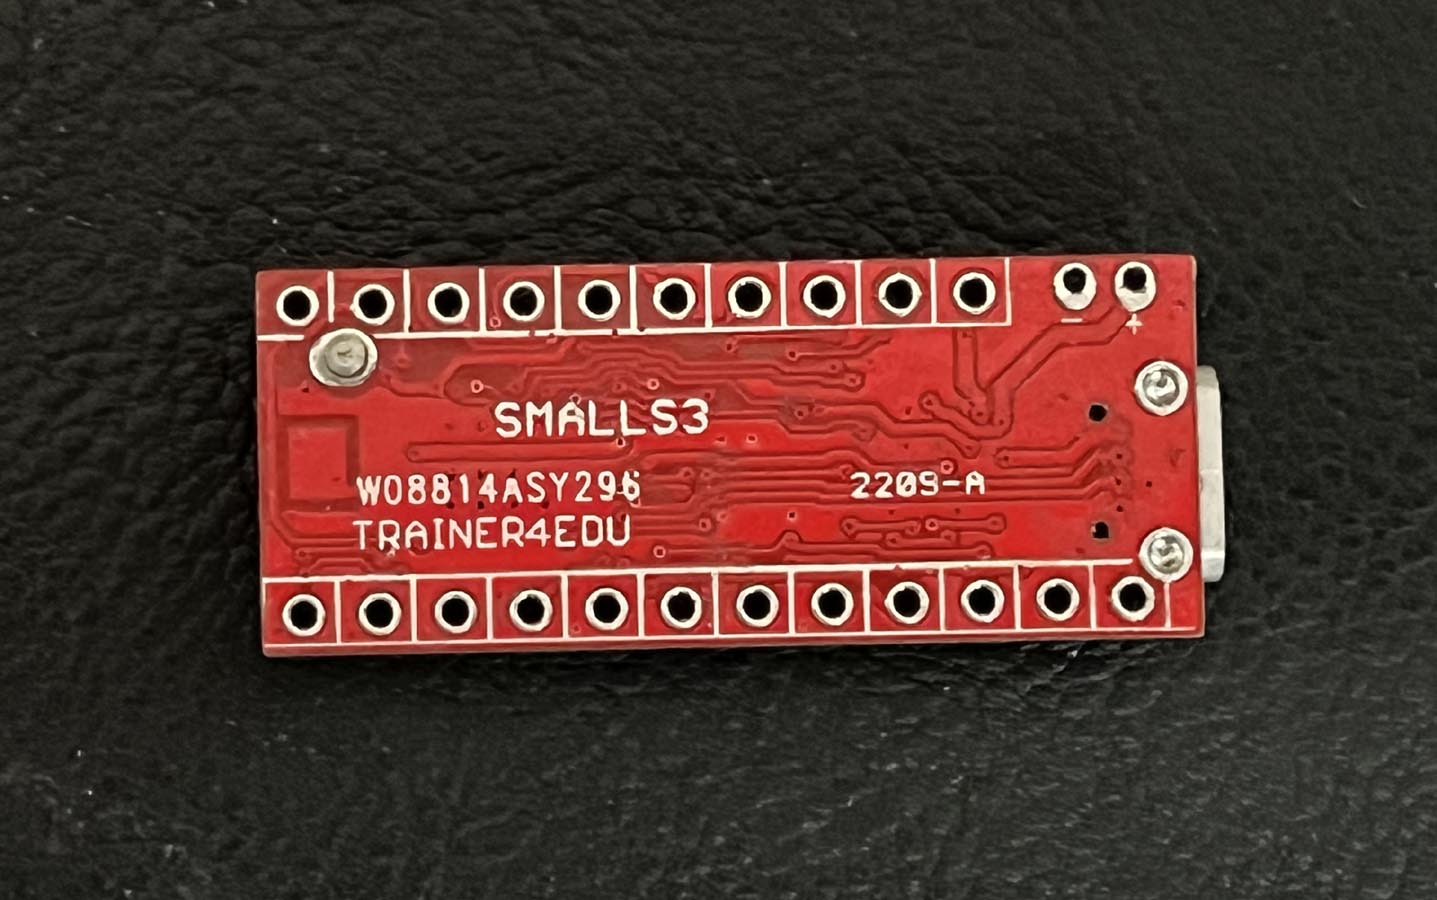
Bottom side |
|
|
|
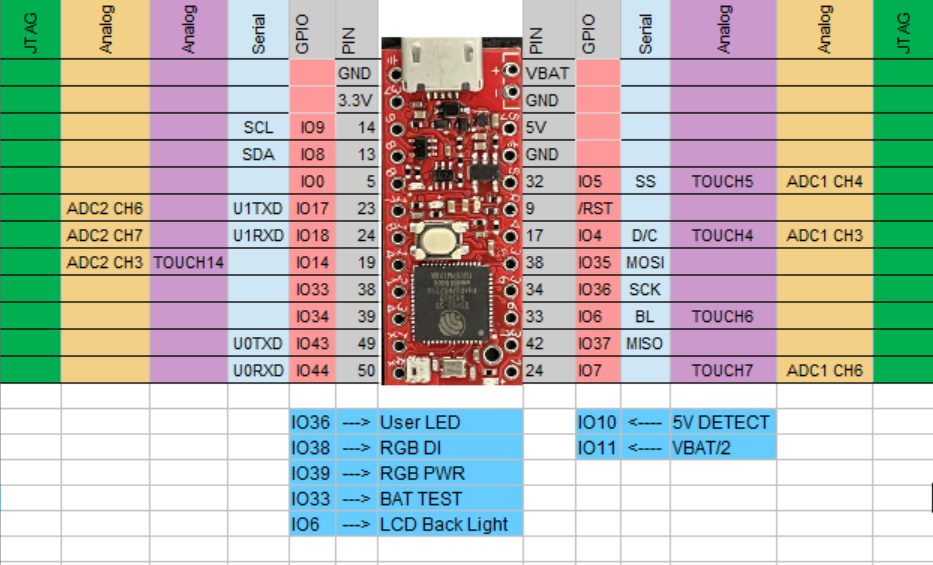
SmallS3 features: 1. The new more integrated ESP32-S3-FH4R2 with internal 4 MB flash and internal 2 MB PSRAM. 2. 32-bit 240 MHz Dual Core. 3. 2.4 GHz Wi-Fi & IEEE 802.11b/g/n, Bluetooth 5, BLE+Mesh. 4. 3.3V, 700mA LDO. 5. The reversing current blocking diode D2 is rated at 1A with very low leakage current. 6. 17 GPIOs. 7. Standard WS2812B RGB. The RGB is turned off when it's not in use. It will extend battery life. 8. 5V power LED indicator and 5V presence detection. 9. User LED. 10. Whip ANT for Wi-Fi communication. 11. Larger RESET pushbutton does not hurt your finger. 12. Breadboard friendly, the battery connector is placed on the top layer. 13. Includes a set of low profile male and female headers and a 2-pin JST LiPo battery connector. 14. Size: 1.25" X 0.511" or 31.75mm X 12.98mm. 15. Pin spacing: X--0.1", Y--0.4".
Unique features on the SmallS3 board 1. A digital switch is added to turn off the battery level test circuit after the test is done. It will reduce deep sleep current significantly. 2. With a Low Pass Filter, the battery charge status LED does not flicker when a battery is not connected.
3. Long Reset Press
(LRP) to enter bootloader mode, it's
simple and easy to use, press the reset button until a red LED
is lit 4. Pin-out is designed for connecting TFT and OLED displays without wiring on a breadboard, leaving more space for your circuits.
SmallS3 assembly Instructions are similar to the SmallPICO assembly instructions.
The
SmallS3 board is pre-loaded with a test sketch and it
will blink all output pins including the user LED at
GPIO36.
The SmallS3 is not shown on the Arduino board list,
you can use it as the Feather ESP32 board.
SmallS3 pinmap:
Arduino Installation
ESP32
course
Download the following Example Programs in a zip file All example programs are tested with Arduino IDE 1.8.19 and Espressif 2.0.13.
We
added a blinking LED to indicate the start of a WiFi
scan. After testing many different antennas we feel that
the whip antenna offers a high signal strength and
wide coverage.
You
can compare it with all other ESP32 boards that you may have, you
will find out how good the whip antenna is.
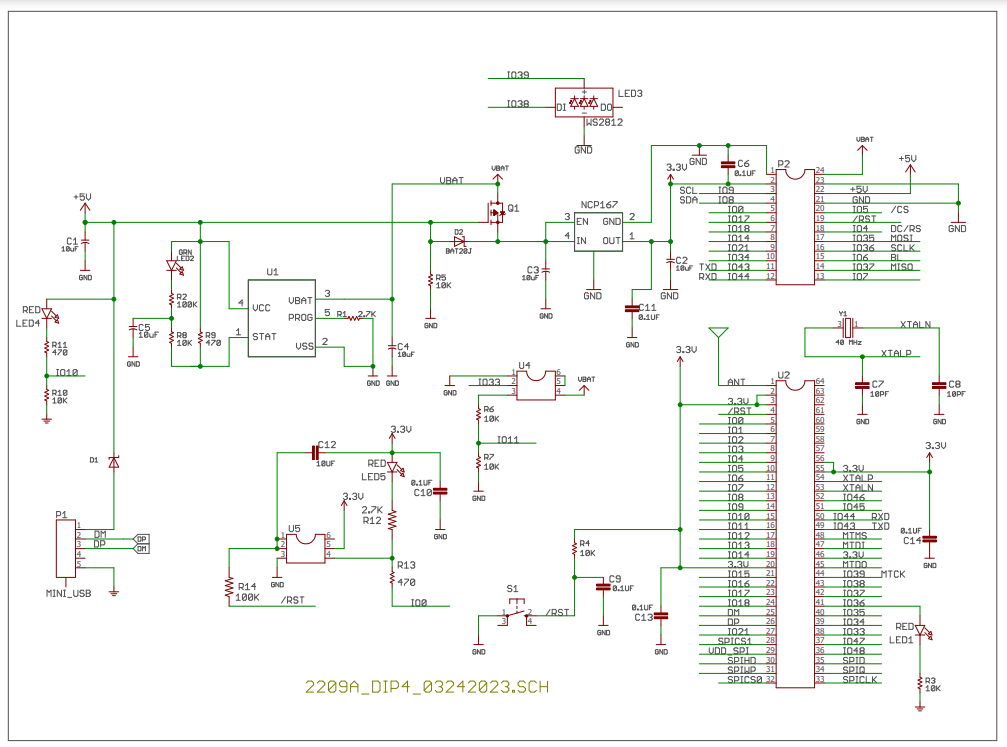
Schematic:
|